Supplies:
- Fabric
- Thread to match or contrast with your fabric
- Elastic (I used 1/8 inch elastic)
- Safety pin (for threading the elastic)
- Cardboard or other stiff paper for making your template
- Pins
Step 1: Wash fabric. Dry fabric. Iron it.
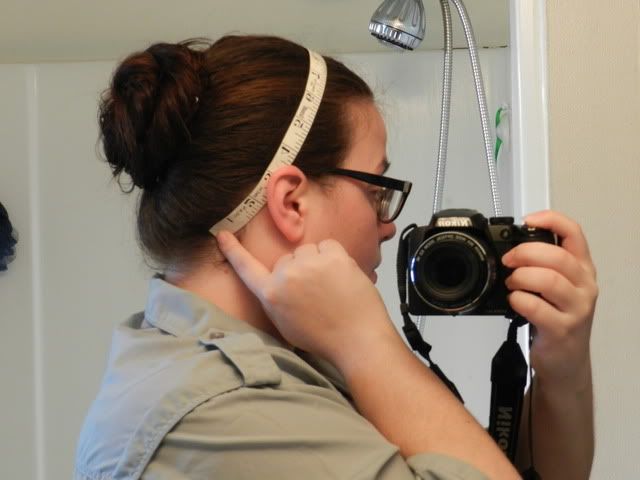
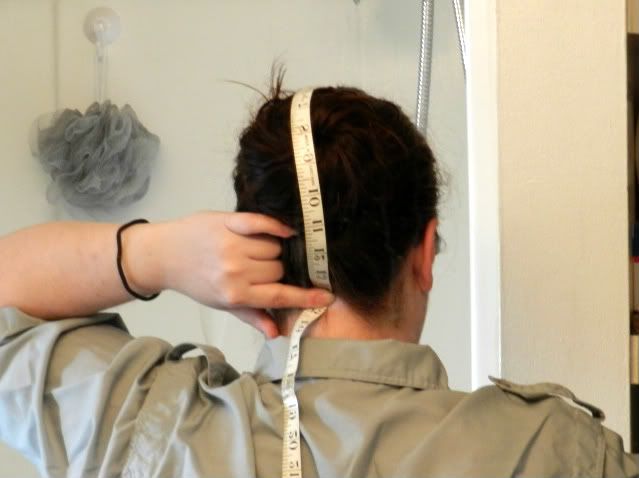
Step 2: Measure around your head. Write it down.
Mine was 19 inches.
Mine was 19 inches.
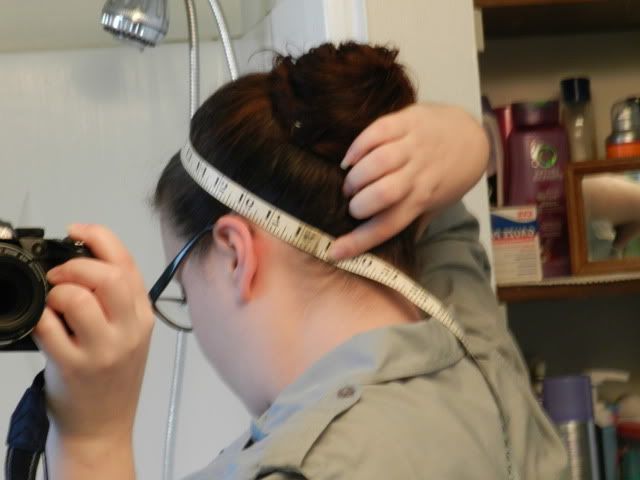
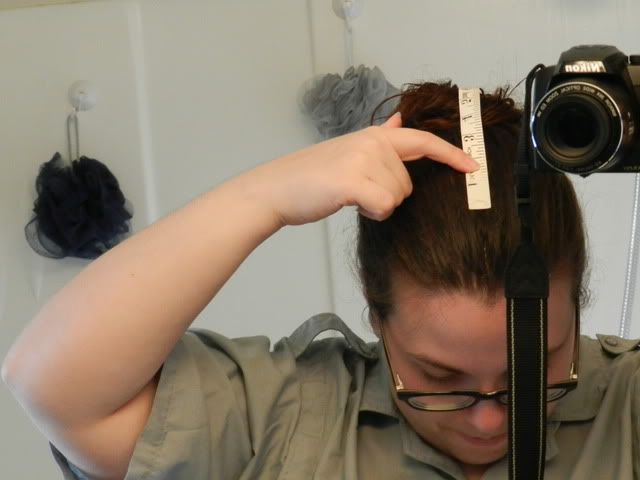
Step 3: Measure over your head to nape. Do this with your hair in a bun or however you will have your hair while you wear this cap. Write that number down. Mine was 15 inches
Step 4: Fold fabric in half. Iron the fold to help it stay.
Step 5: Using cardboard or other stiff paper, draw a line that is half of your measurement from step 2.
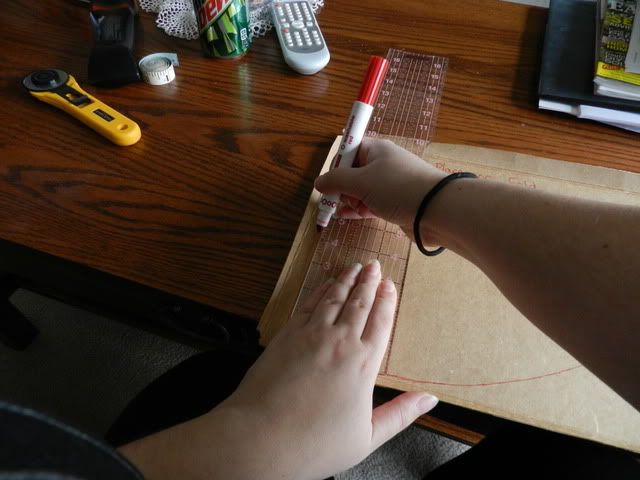
Step 6: Draw a line using the measurement from step 3 that is perpendicular to the other one. You should have a right angle where the two lines meet.
Step 7: Starting at the green arrow measure toward the front the using step 2’s measurement. Place a dot (blue arrow) and measure down from that point (purple circle). Connect from purple circle to the bottom of your front edge (yellow arrow).
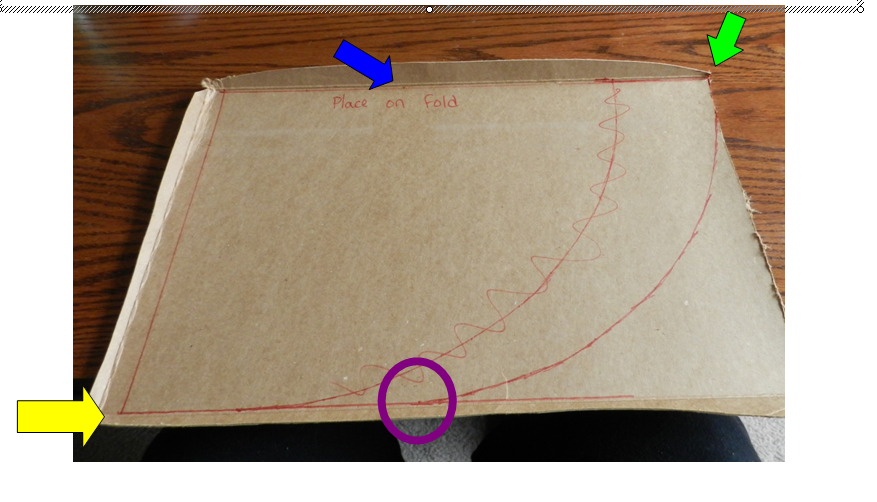
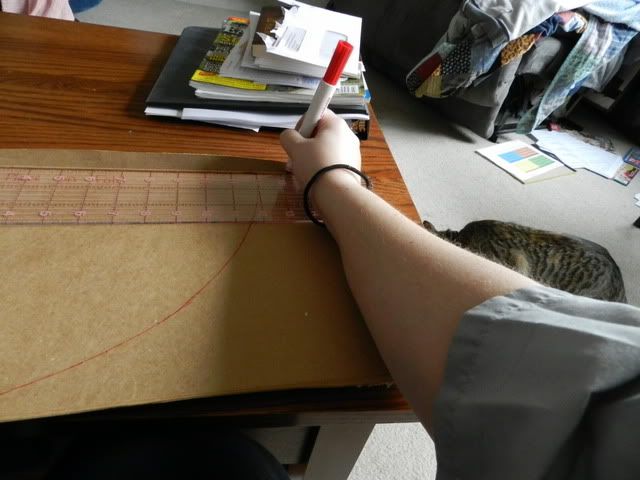
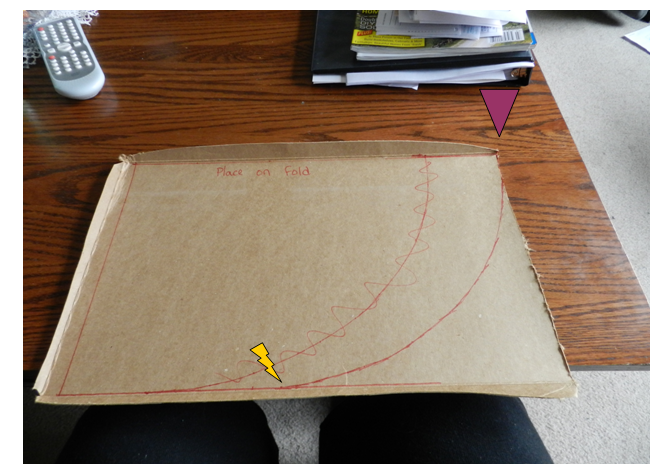
Step 8: Draw a curve from the end of your top edge (the purple triangle) to the end of the one you just drew (yellow lightning bolt). You can use a compass or just a sting tied to your pen held down on the dot at the blue arrow in step 8.
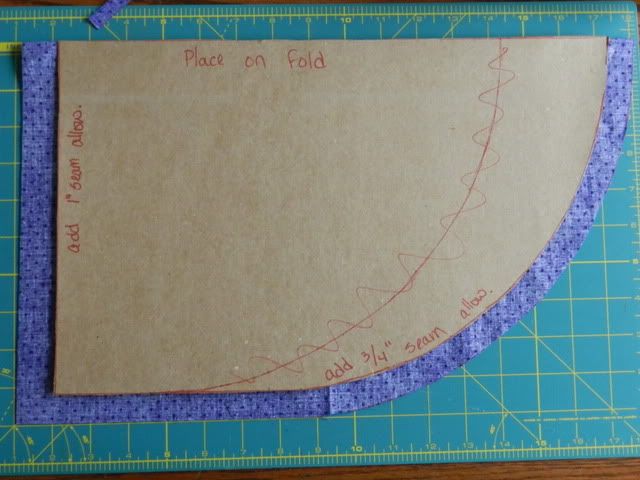
Step 9: Cut out your template. Place on your fabric. I added 1 inch to the front edge and ¾ inch to the curved edge. Cut out your fabric.
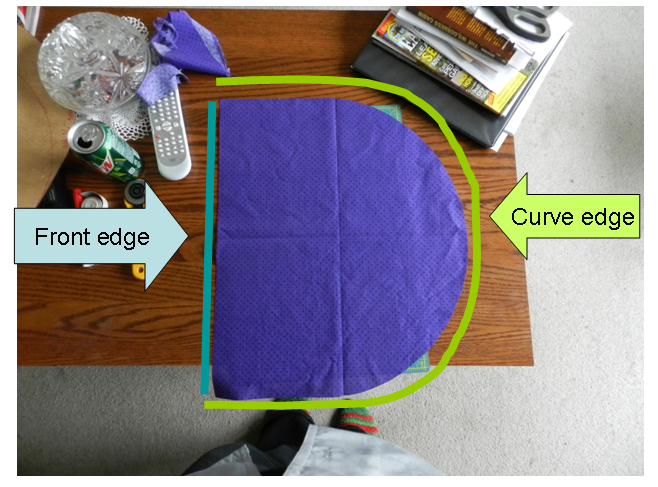
This is what you have after cutting it out and unfolding it.
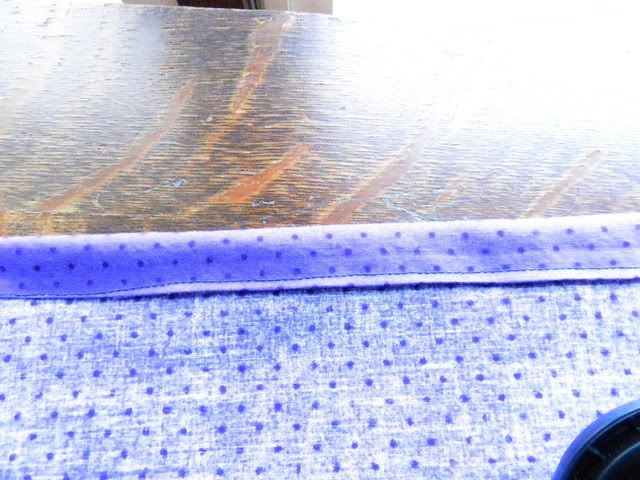
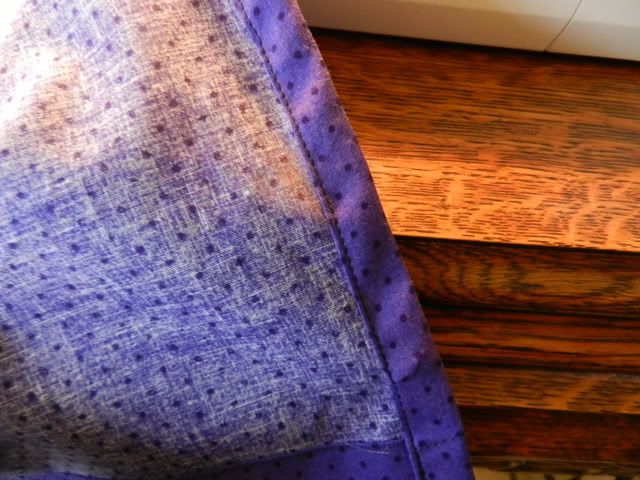
Step 10: Fold front edge under ¼ of and inch. Iron.
Step 11: Fold under again ¾ of an inch. Iron.
Step 12: Sew 1/8 of and inch away from the inner edge.
Step 13: Baste ¼ inch away from edge on your curved edge.
Step 14: Fold curve edge under ¼ inch. Iron.
Step 15: Using the basting to help, fold the curve edge up ½ inch. Iron and pin.
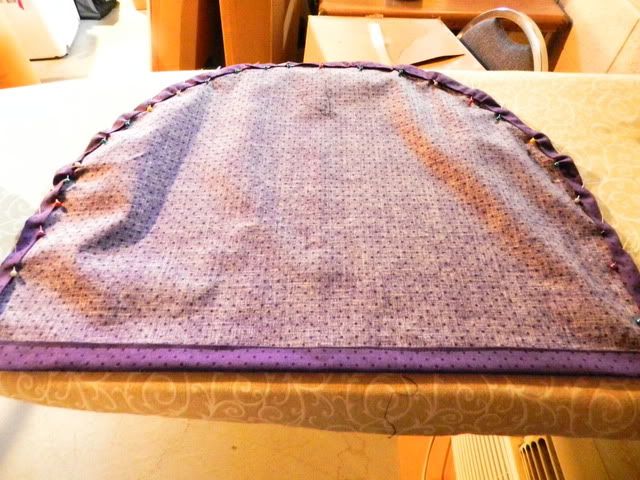
Step 16: Sew as close to the inner edge as possible. This creates the casing for the elastic.
Step 17: Attach the elastic to a safety pin and thread through the casing on the curve edge.
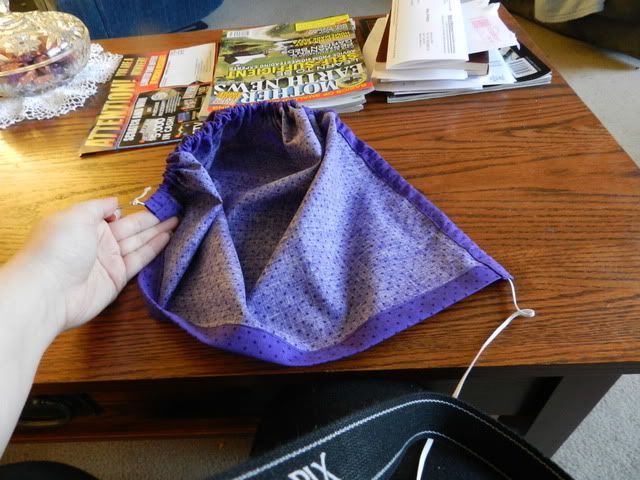
Step 18: Sew one side of the elastic down.
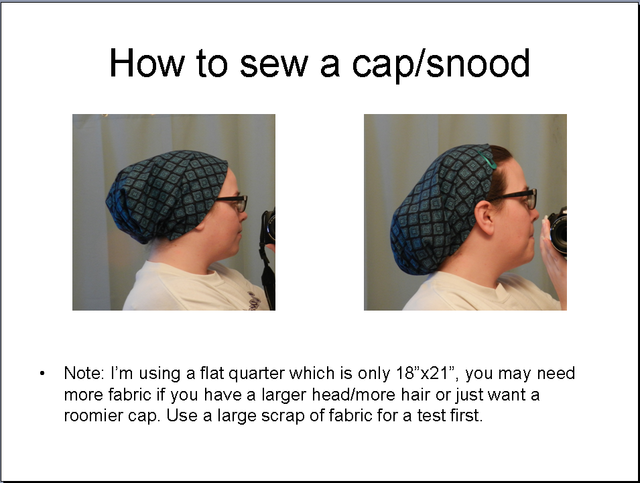
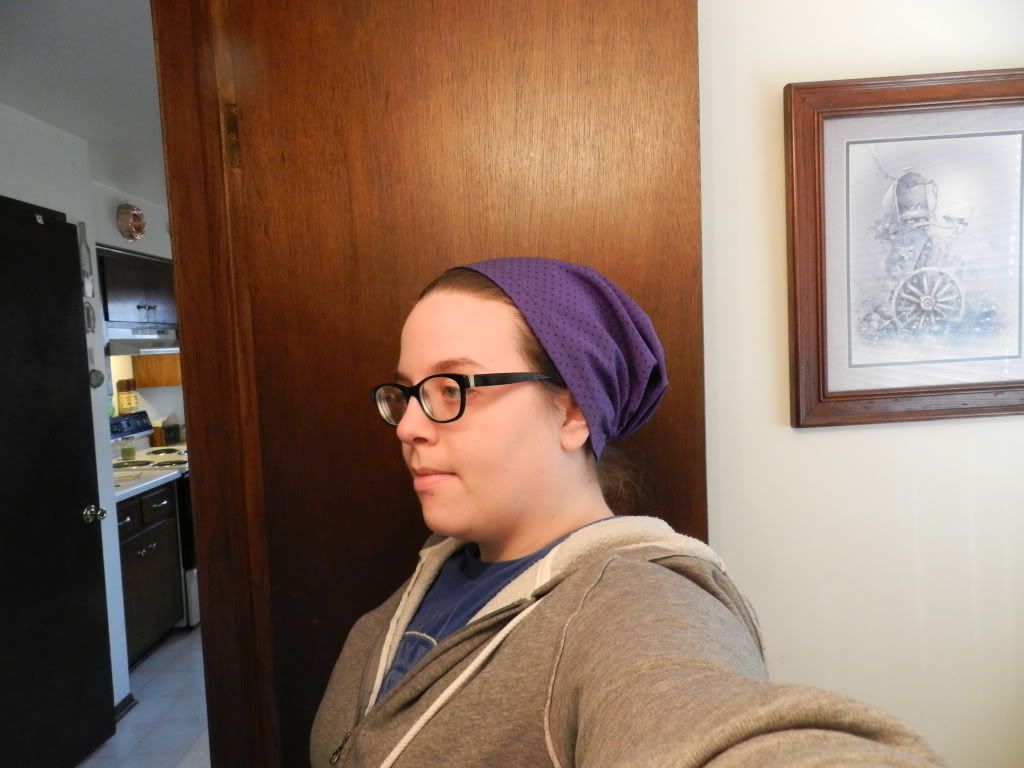
Step 19: Try on the cap and tighten or loosen the elastic to get the look you want. (Covered ears vs uncovered ears.)
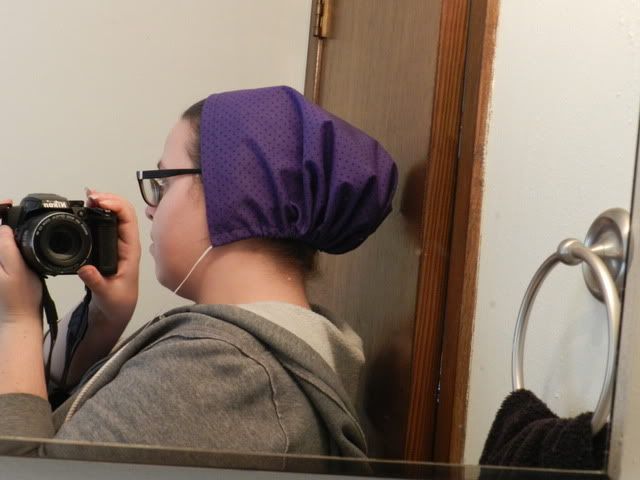

Step 20: Secure the other side of the elastic when you have the look you want and trim any threads and excess elastic. Wear your new cap with pride!
No comments:
Post a Comment